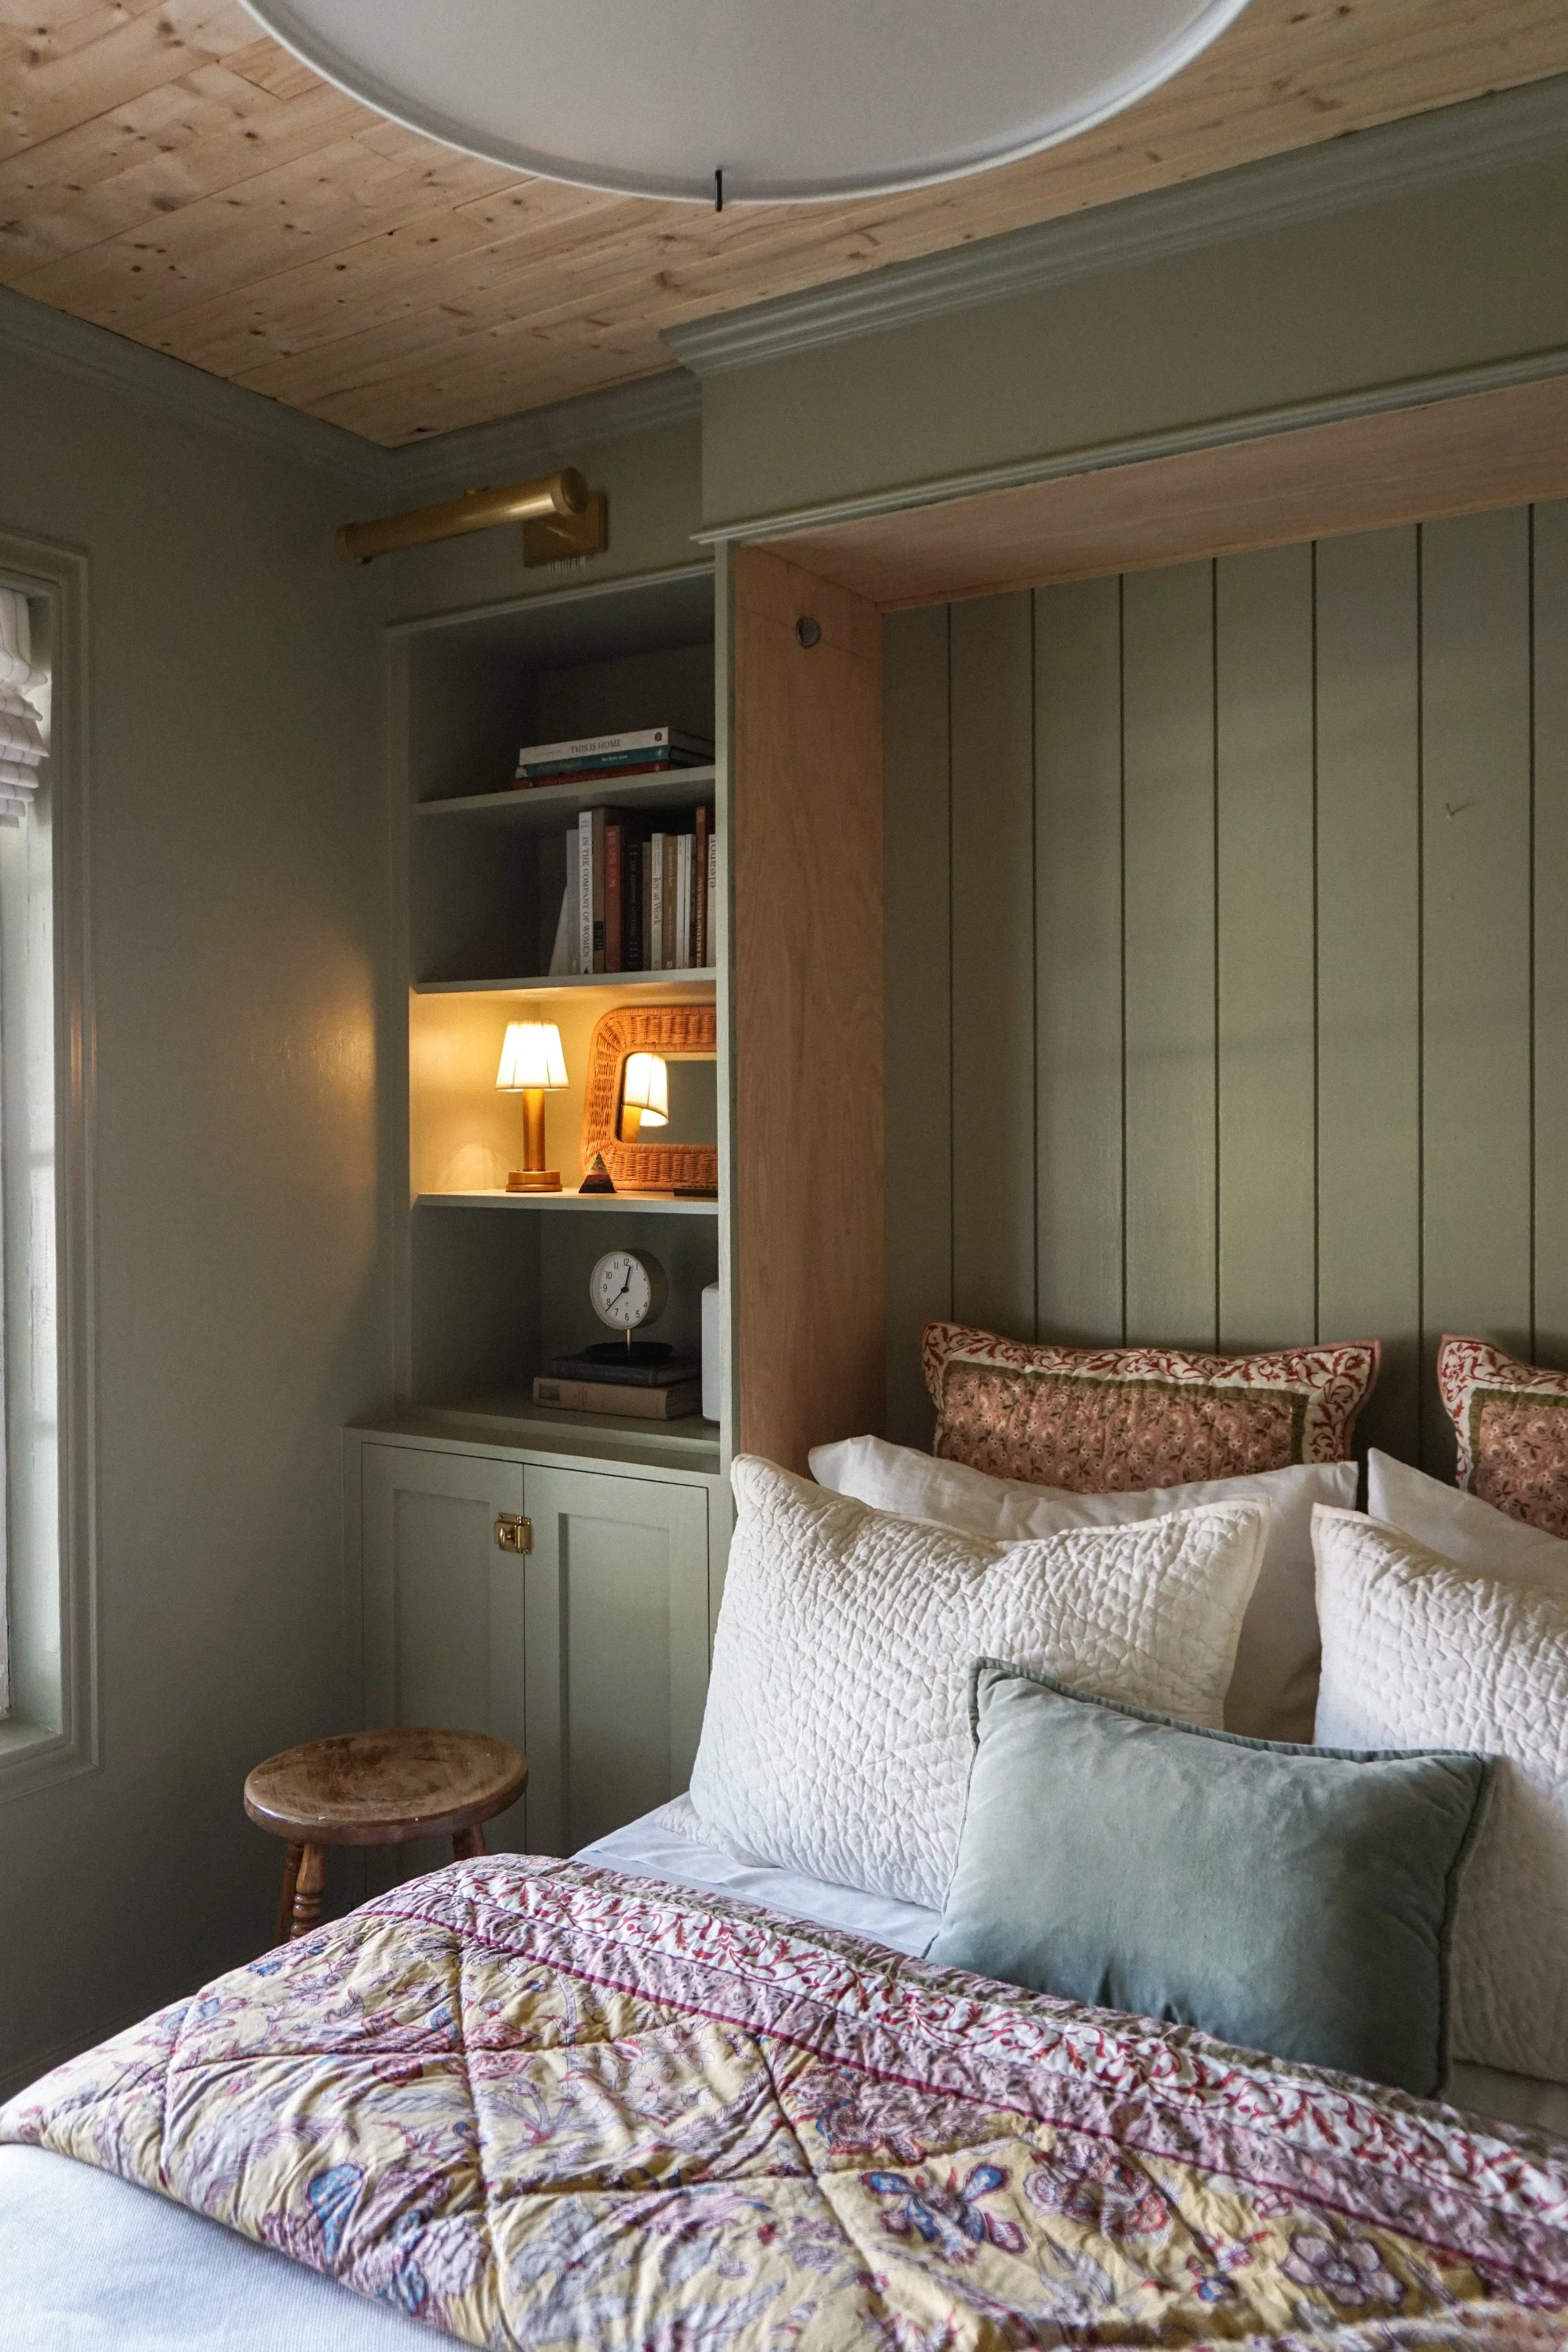
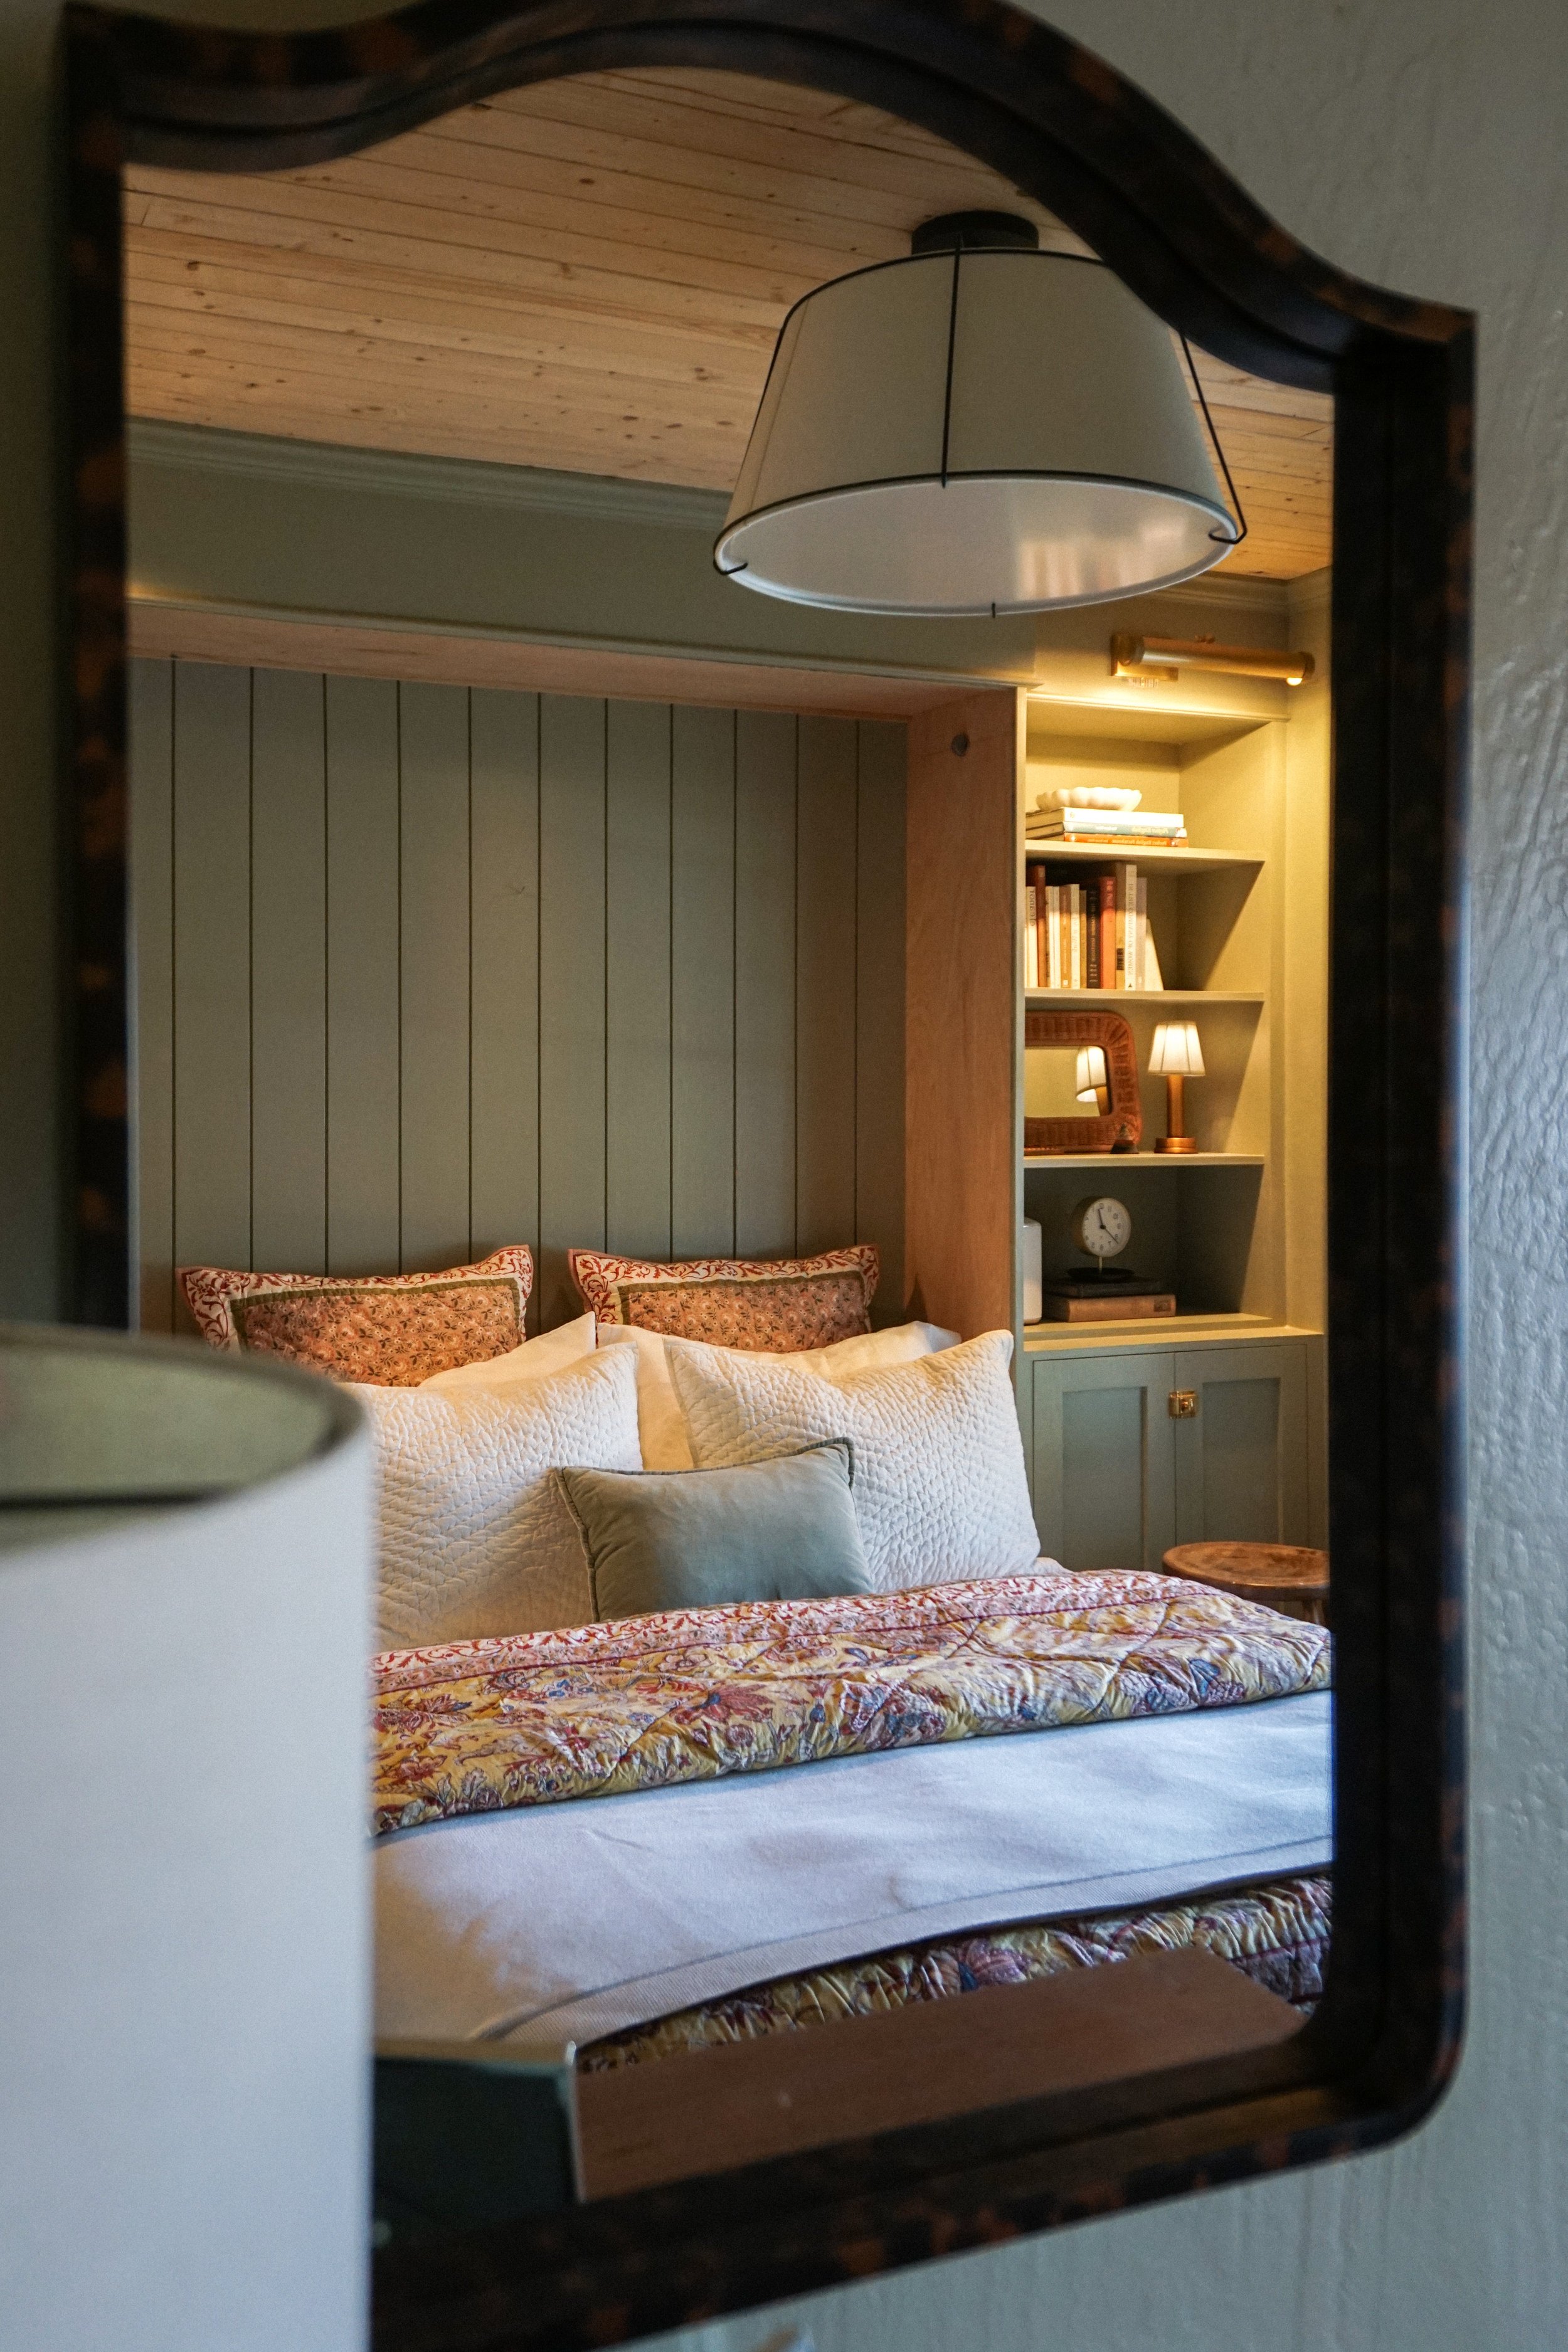
How We Built Our Murphy Bed
Let’s go back to 2022. We had a room next to the front door that we used as a guest bedroom, but since we barely have guests, it mostly sat empty (or filled with boxes). We don’t have extra rooms in our home, so the plan was to make the most of that space—using it as a guest room only when needed (which is just once or twice a year)—and finally create a proper home office with a desk and everything. The room is very small, measuring 10'1" x 10'3", so a sofa bed wasn’t a good option. What we needed was a Murphy bed to maximize the space. I love a good DIY home decor project, so I was up for the challenge of building one ourselves. I’m proud to say that we succeeded, and I’ll be sharing everything we did in hopes of inspiring you to create your own small space solutions!
First Things First
It all started with a simple sketch I made to visualize how the Murphy bed would look with built-ins on each side. I highly recommend doing this—even if your sketch isn’t super polished —because it will help guide you through the process and serve as a reference when installing all the details and electrical components.
Building isn’t my favorite thing, but I love the creative process. With my drawing, I was able to decide whether to use doors or drawers at the bottom of the shelves and clearly picture the final result.
This wasn’t going to be a cheap project. We spent a lot of time considering it before moving forward, but we’re confident it will save us a decent amount of money by doing everything ourselves.
What do you need? First things first: we purchased this Murphy bed hardware kit. There are different options available, but this is the one we chose. You can install a Murphy bed either vertically or horizontally, depending on the space you have. We went with a vertical installation to maximize wall space.
The great thing about this hardware kit is that it comes with detailed plans on how to build the bed, including the exact dimensions for each piece of wood you'll need. Armed with this info, we went to The Home Depot and bought all the plywood sheets required. For a small additional fee, we were even able to have most of them cut at the store.
This is an intermediate-level project, requiring tools like a table saw or circular saw, a drill/driver, and a router. Can you do it? Absolutely! It’s also a two-person job.
FAQ: What was the total cost of building the Murphy bed?
For the wood, we used two 1/4” sheets of plywood and four 3/4” sheets, which totaled around $500. The Murphy bed hardware kit was $300, bringing the total cost to $800 for a queen-size Murphy bed. It's important to note that this project was completed in 2022, so prices may vary.
Like a giant puzzle. We got the bigger pieces cut at the store, so everything could fit in our car.
The Murphy Bed
As I mentioned before, we used a queen-size Murphy bed hardware kit. It came with detailed instructions for building the bed, including a cut list for all the wood pieces, which was easy to follow. There were also templates for the hardware installation. Honestly, it felt like we were building an IKEA piece of furniture from scratch.
Another thing we did was move an outlet that was originally behind the Murphy bed to the left side. This new outlet would control the picture lights we planned to install above the cabinets. We also reinstalled the wall paneling that had been removed earlier, which would serve as an accent wall when the Murphy bed is open. The final step was anchoring the bed to the wall studs using construction screws.
FAQ: What type of mattress did you use?
We reused the one from our guest bedroom. The weight limit for this particular Murphy bed hardware kit is 80 lbs, which is standard for a queen-size bed. (The one we have is no longer available, but here’s the latest version from the same brand.)
We started building the frame.
FAQ: What is the ceiling height?
8ft.
The Built-In Cabinets
For the side cabinets, we started by building the bases and securing them to the wall studs. We used 3/4” thick sanded plywood for the cabinets and bookshelves, and 1/4” plywood for the backing, along with wood glue and screws. For reference, the base cabinet has the same depth as the Murphy bed, while the bookshelf has a total depth of only 12.5”.
Important Note: Make sure to leave enough space on each side of the cabinet for trim! Trimming all the cabinets is what would make them look finished so this part is very important.
Next, we added three shelves to the upper cabinet boxes and fastened everything to the wall and side panels, ensuring a solid and secure structure. To finish the edges, we used edge banding tape, which is the easiest method—simply apply heat, and it bonds firmly in place.
As you can see in the pictures below, there’s an empty space at the top of the Murphy bed and bookshelves. We ran the wiring for the sconces up there, then covered everything with more plywood and finished it off with crown molding and decorative trim. To cover the bottom part of the built-ins, we used one long baseboard, which was nailed only to the sides and not to the Murphy bed.
Building the base.
There’s no better way to decide how many shelves to add than by testing the height of the items you plan to place on them.
FAQ: What are the measurements for the bookshelf spacing?
The spacing between the shelves is 12 3/4" for the tallest shelf, 10 5/8" for the shortest, and the width is 28 3/8".
Securing the cabinet boxes.
Applying the edge banding tape.
Adding the trim.
Next, it was time to build our inset shaker-style doors. Building this door style requires quite a bit of math since the doors sit inside the cabinet frame instead of on top. We had to make sure the two doors fit perfectly, so all the pieces for the door had to be cut to the exact dimensions we needed. Luckily, nothing that a quick YouTube tutorial can’t teach you!
I should mention, this was Paul’s first time building doors, and I think he did an amazing job!
To start, he made dowel joints, glued them, and used clamps (or you can also use heavy boxes) to apply pressure overnight. A dowel joint is a type of wood joinery that uses wooden dowels to connect two pieces of wood, but you could also use pocket holes to assemble the doors this way.
Then, he used a router to create a groove for the 1/4” plywood that would fit inside the door frame. The router leaves a rounded edge, but instead of leaving it as is, my husband—being the perfectionist he is—used a wood chisel to square off the corners, ensuring the plywood fit perfectly. After that, he glued the door frames into place and drilled holes for the door hinges. And just like that, the doors were ready!
Creating a groove using the router.
Making the holes for the door hinges.
Final Details
Next, it was time to make the bed’s flat panel blend seamlessly with the rest of the built-ins. To do this, we added wood boards to the back of the bed to give it the appearance of cabinet doors. It was a simple process, but it made a big difference in the overall design.
About the color: We initially chose a dark shade, but I immediately regretted it. However, I didn’t want to change it right away, so I decided to wait in hopes it would grow on me. Well, it never did. After almost three years, I finally decided it was time to pick the right color for this northwest-facing room. You can see all the details of the transformation in this post.
Color: Hague Blue by Farrow & Ball
New color: French Gray by Farrow and Ball.
After doing things ourselves, we have a much greater appreciation for the work others do, and we completely understand why woodworking projects like this can be so expensive. It’s a lot of work, and it’s a craft that takes years to master. We’re learning so much with every project we take on and, of course, saving a lot of money by doing it ourselves. I encourage you to do the same—start small. I can assure you that once you gain confidence, nothing will stop you.
Picture Light (The one we have is out of stock, but this one’s a similar version from the same brand)
Black Oak Desk (Similar option. Ours is a piece of furniture I refinished)
Shop this post:


