4 ways I’ve used V-groove planks in our home projects.
It’s versatile, timeless and quickly became one of my favorite materials to transform spaces and add character in our home. V-groove planks are having a moment lately unlike the most popular wood paneling, tongue and grove. But this type of interlocking wood plank has been used for years and years and you can find it in most homes dated from the 1800 and later.
"Tongue and groove" refers to a type of join used to secure boards together. This joint offers strength and stability, making it ideal for flat surfaces. Adding the "V-joint" modifier describes the appearance where the board's edge is cut diagonally. When these boards are joined, the diagonal cuts create a decorative V-shape.
Wood paneling evokes an old world feel and adds instant charm and coziness to the space where you install it. And in contemporary interiors, V-joint paneling softens the atmosphere, infusing spaces with character and comfort.
We've used V-groove planks in many areas of our home in recent years, bringing that 'old home' feel we desire in our late 60s home. There are numerous options available, with different wood species typically available, but the two most commonly used are Pine and Cedar. Considering the current prices of wood, this type of wall treatment may not be the most affordable, especially if you plan to plank a large room. However, the good thing is that there are options for all budgets. I particularly love this one, as we've used it extensively in our home. It's affordable and versatile; you get a pack of 6 planks for $26, which isn't bad at all when you do the math, and the great thing about this product is that its very thin making it great for multiple uses.
If you need some ideas of how to use these, here are some of our home projects.
Kitchen backsplash
This was the first project we did using these boards. I wanted to bring that ‘it was always here’ type of material to our kitchen to make it feel like -not a recently renovated kitchen- if that makes sense. Also, using these planks vs. a more traditional marble or tile backsplash cut the cost considerably and it looks intentional and charming.
I painted the walls Pure white SW but you can still see all the imperfectly perfect character of the wood and that is what I love about our walls.
My favorite hardware always from Rejuvenation.
Cabinet color is Sage Green Light SW
The view of the dining room through the kitchen arch.
We did use part of our marble slab for the range splash and sink, since those are the surfaces we use the most but kept everything else with just the wood paneling.
Kitchen details.
Right after installing the V-groove paneling in our kitchen walls.
Bathroom walls
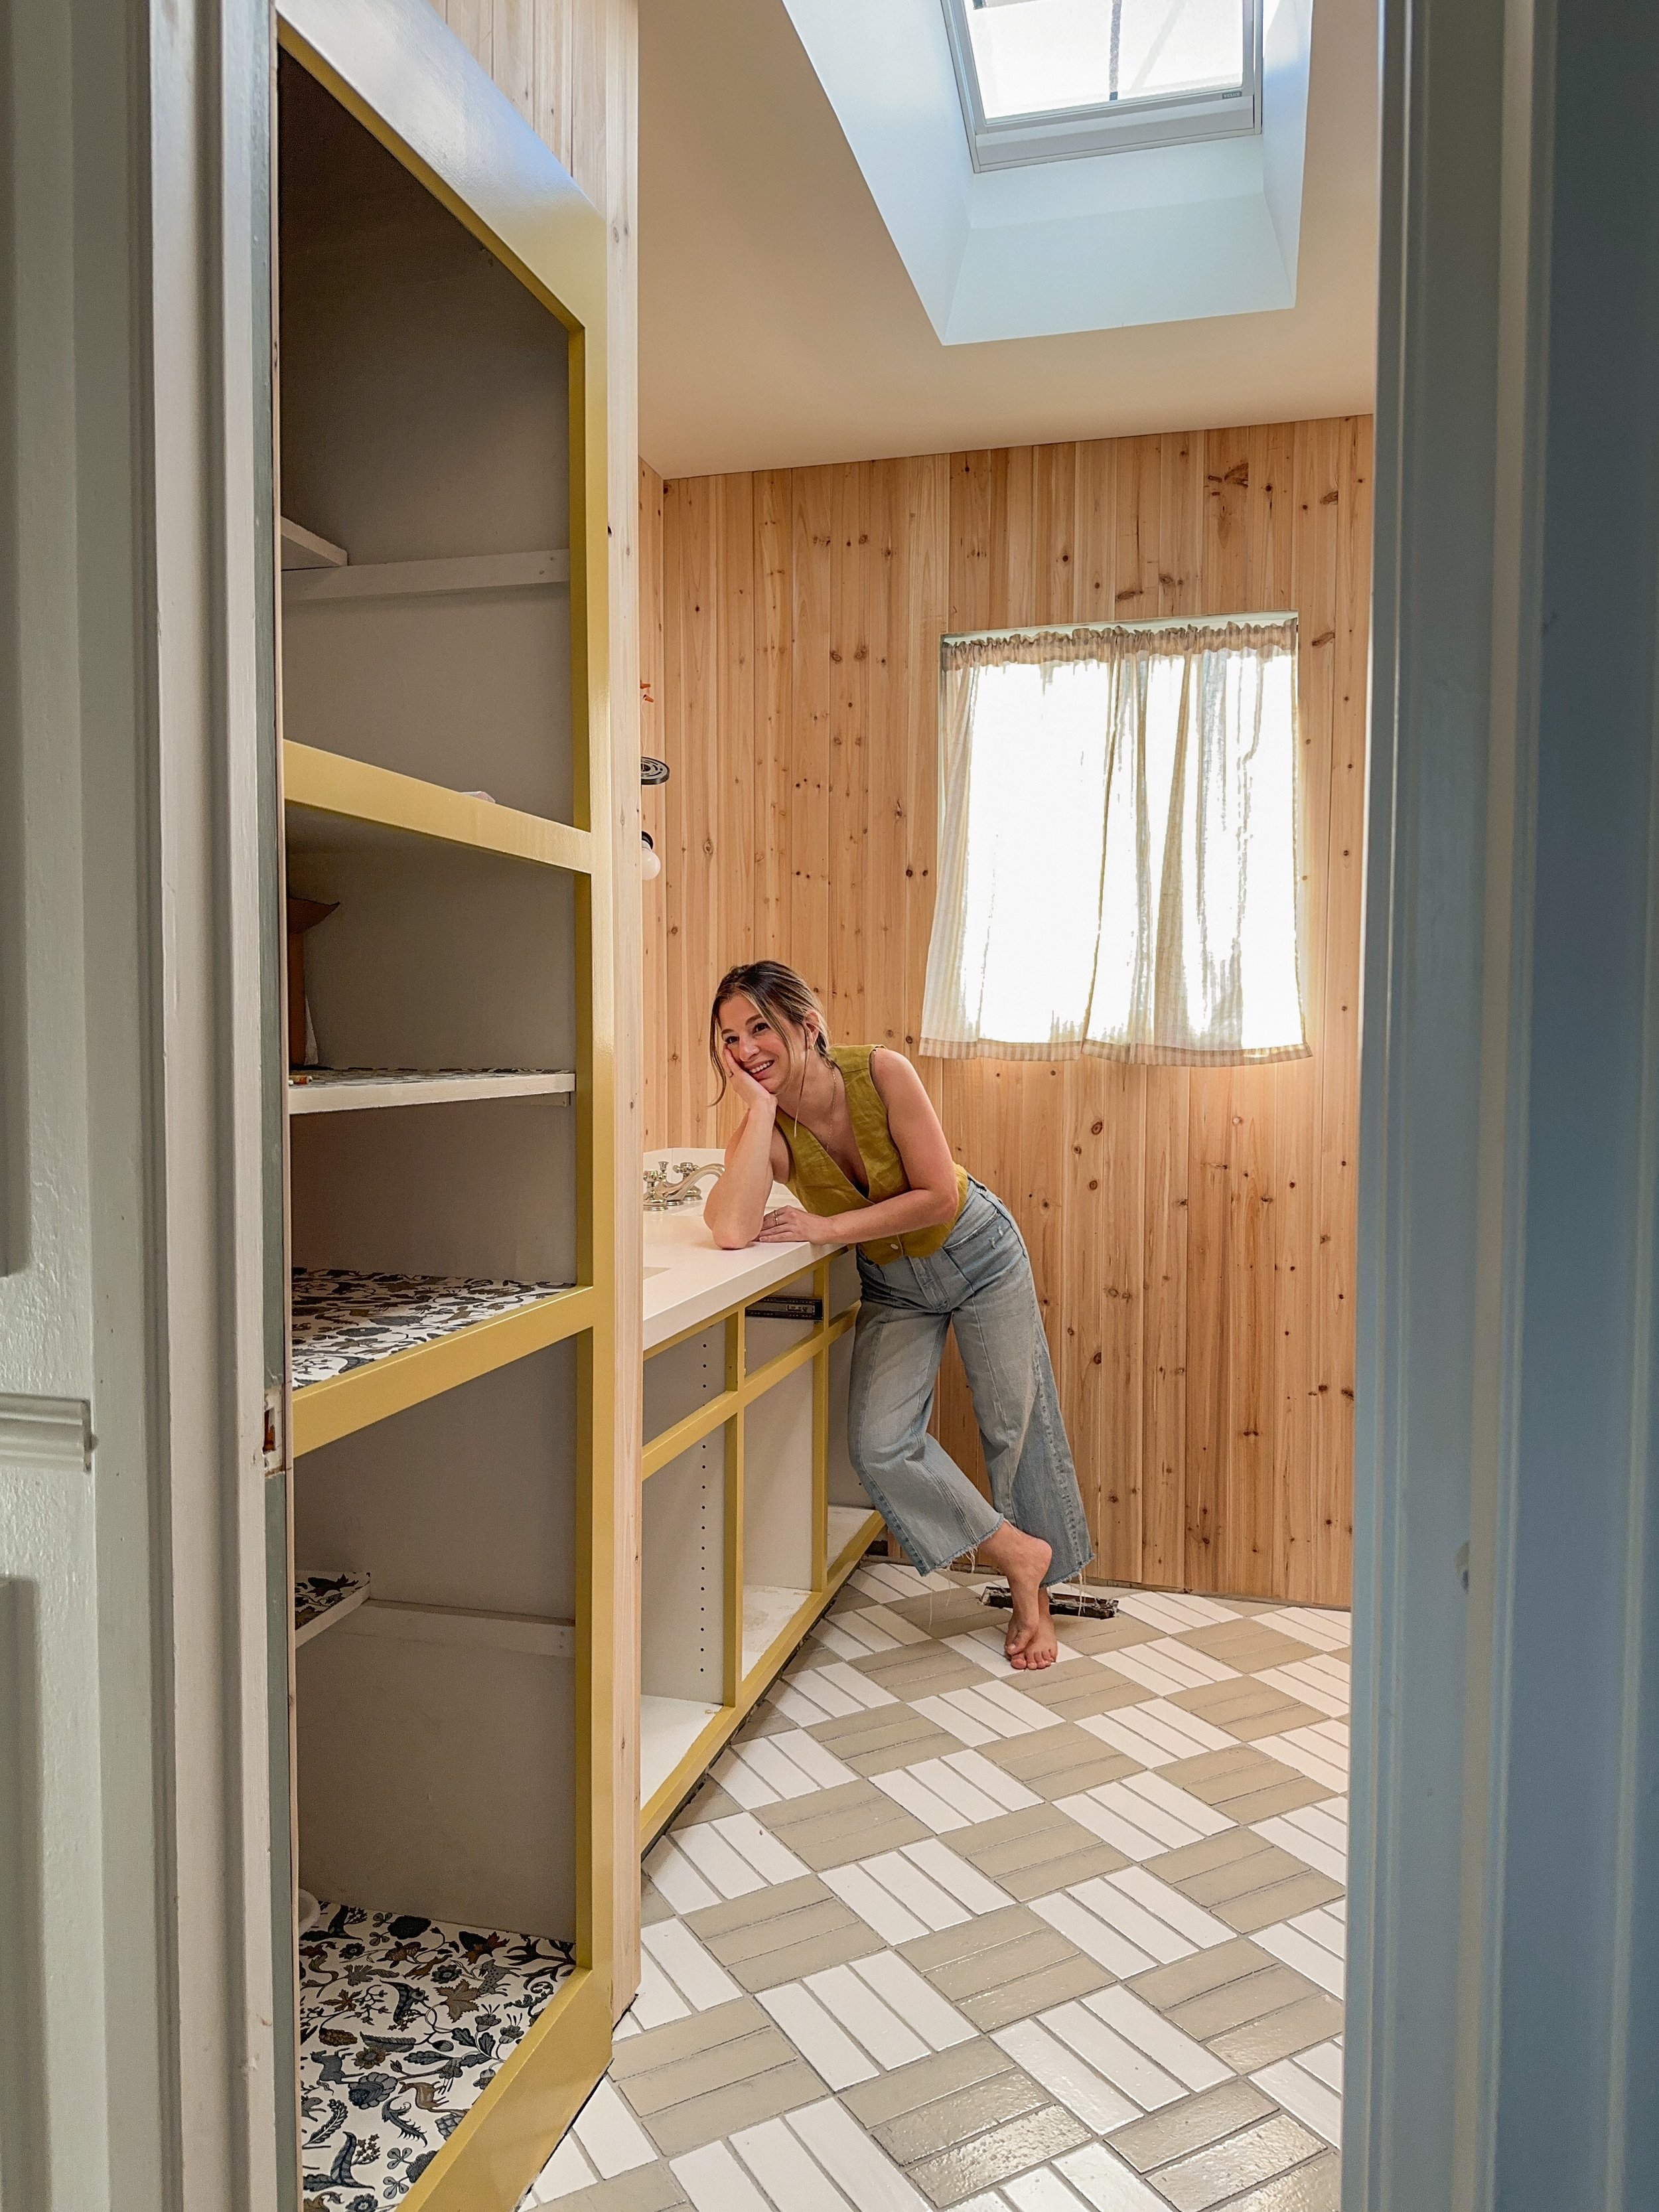
Not a typical room in a home for wood paneling, but I love it. One important thing to mention when installing any type of wood paneling in a bathroom is that you need good ventilation if you have a shower in there.
The great thing about these wood planks is that they are made of Cedar, making them naturally resistant to water and mold, which is perfect for a bathroom setting.
You can find more details about our Hall bathroom renovation Here and Here.
Adding some real vintage and vintage-inspired touches to the toilet area.
View of my kids bathroom.
Cabinet color is California Hills BM
Ceiling treatment
We’ve done 2 different ceiling treatments in our home with these boards, the ceiling in our entryway which is vaulted ceiling and the ceiling in our study/Guest bedroom.
For the celing in our entryway I decided to paint it the same color as the trim, Accessible Beige SW, but for the ceiling in our study I think the natural wood makes so much more sense and it adds the rustic feel which is a beautiful contrast with all the other more elegant finishes.
When Installing these boards we shoot the nails at an angle, to secure the boards to the drywall. Depending on your ceiling type you can also use a construction adhesive but for our case it wasn’t needed.
View of the office/guest bedroom from the entrance.
Pendant lantern from McGee & Co.
Ceiling color is Accessible Beige SW
Bedroom ceiling
Last but not least another recent project, not in our home. This is my SIL primary bedroom. They have these beautiful tall ceilings in their home so this was a perfect opportunity to highlight that feature and make it a statement. Planking the ceiling made a big difference in the way this room feels now, cozy and inviting.
You can see more details about this bedroom design Here and Here.
The AFTER.
The BEFORE.
Hidden door
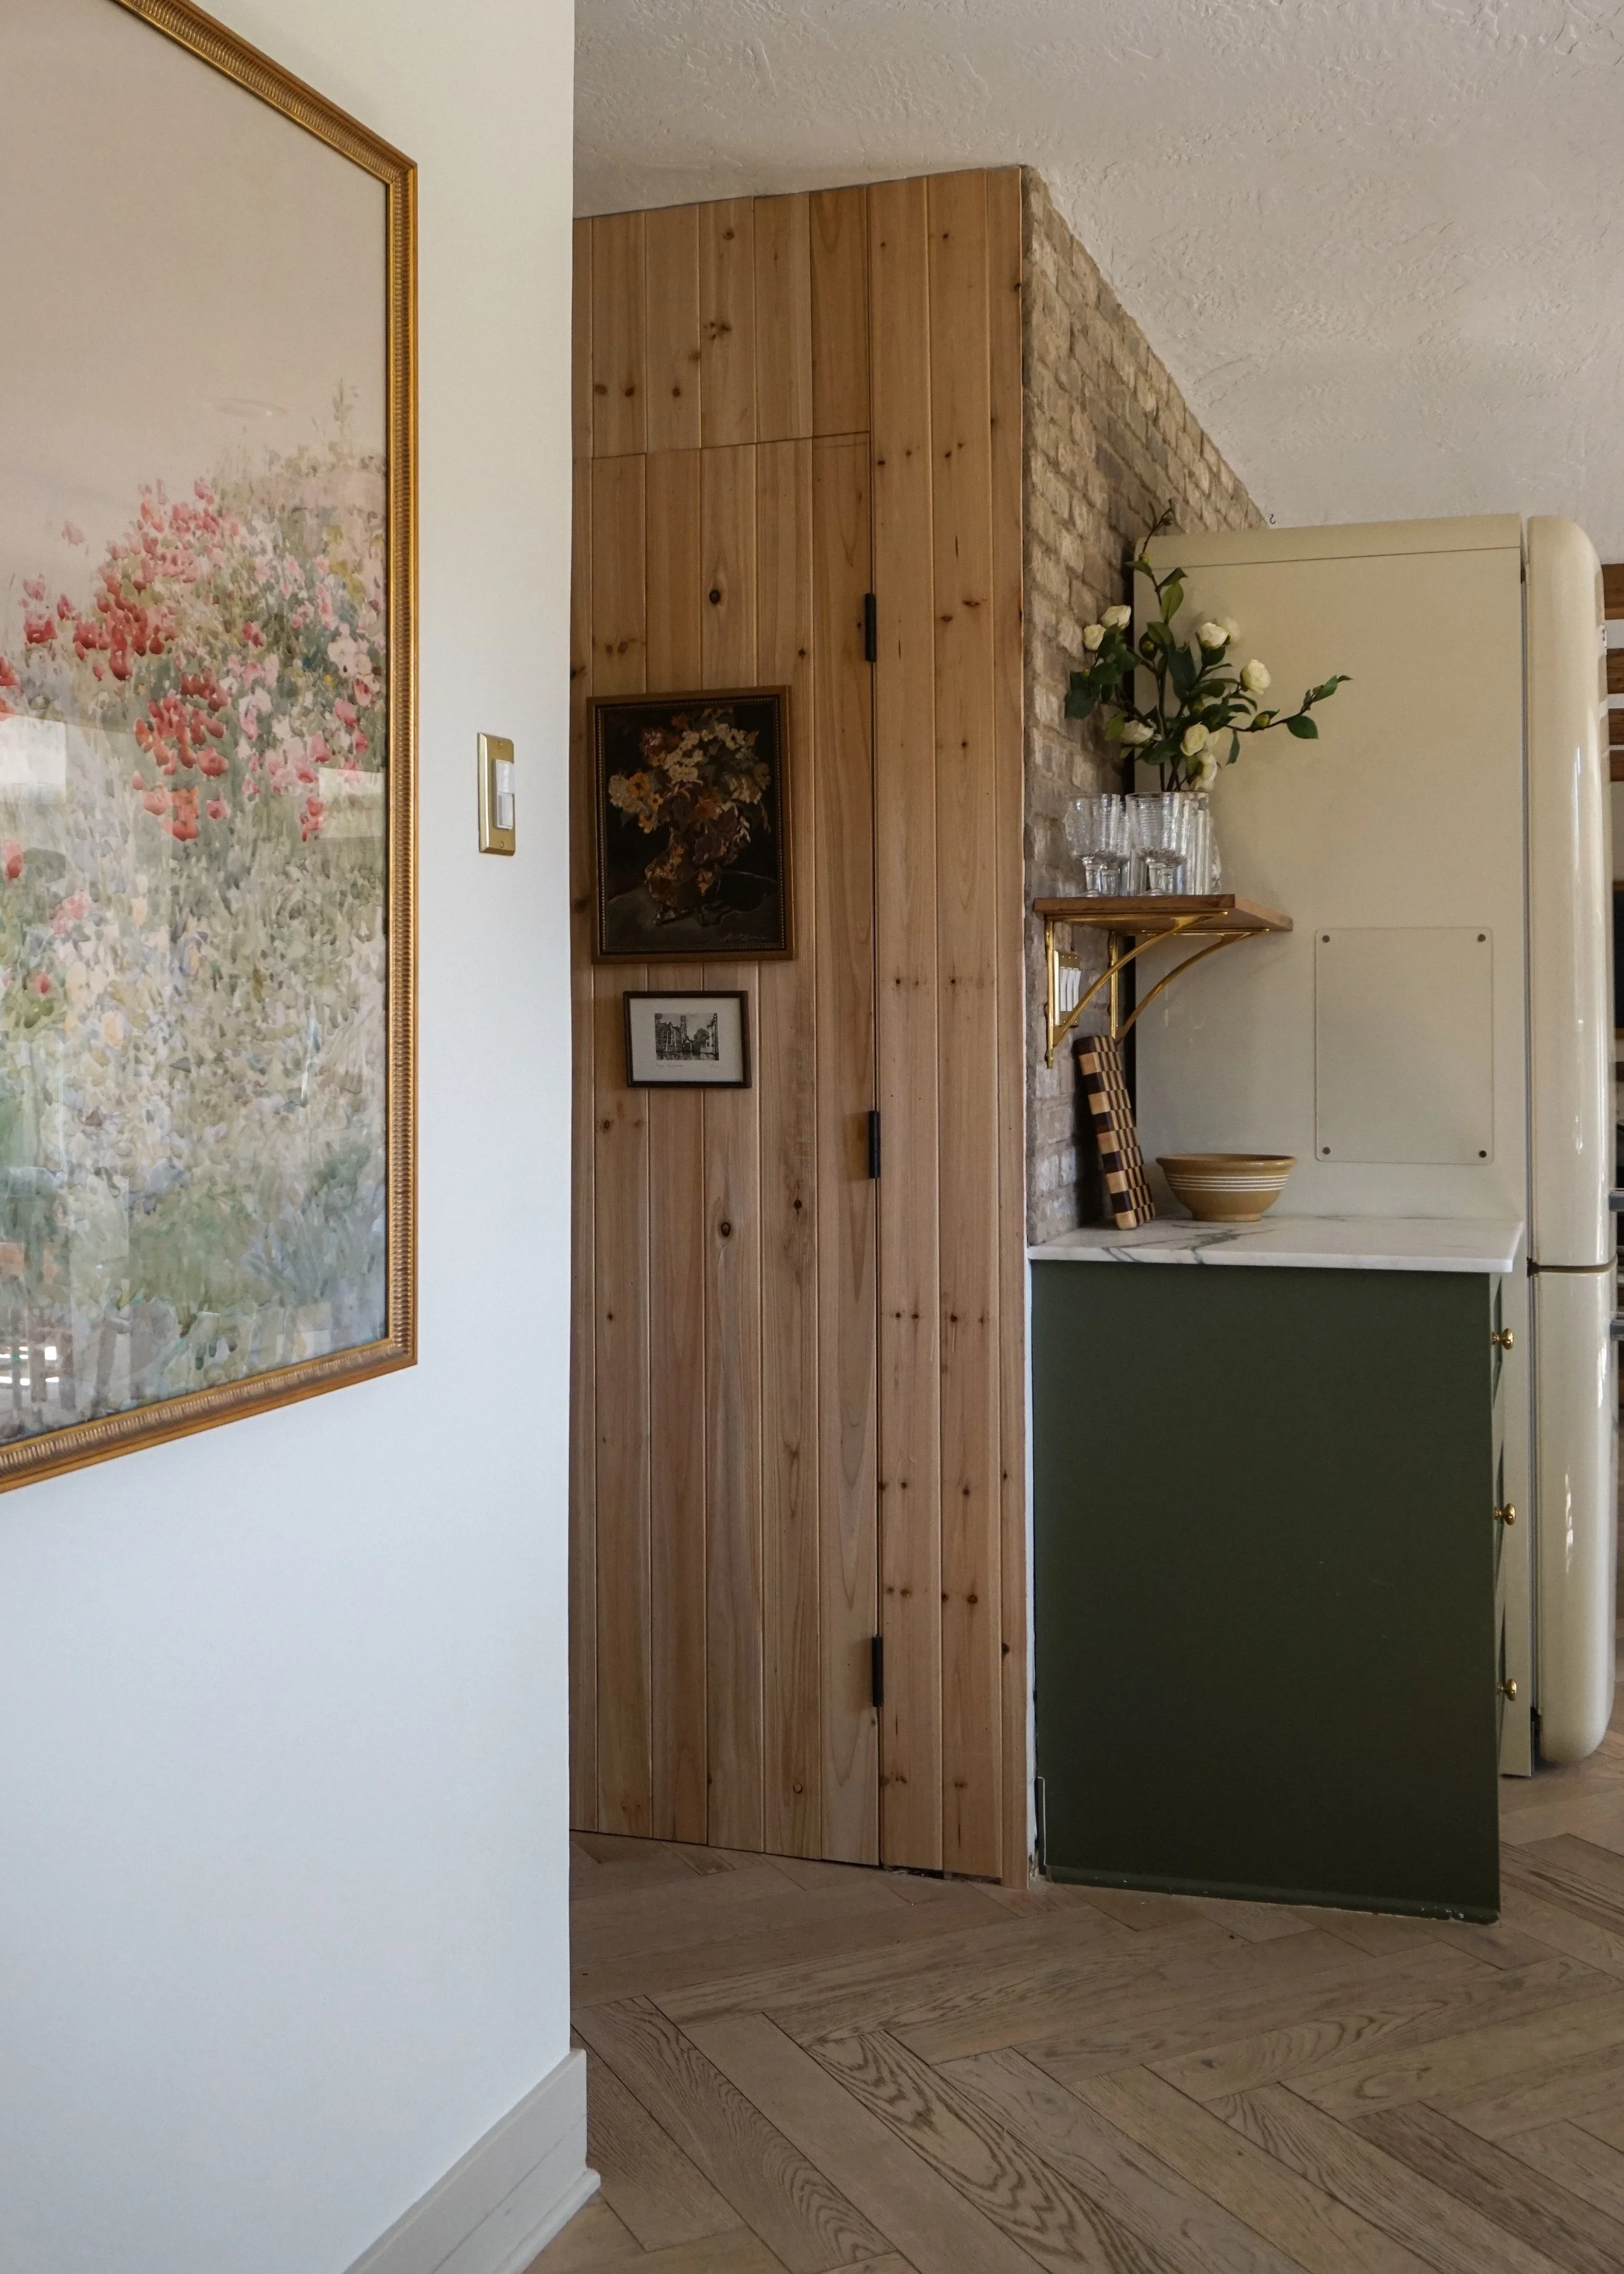
The latest and most recent project that is still a work in progress is this Hidden door that BTW got so many ‘interesting’ comments on my recent reel because I was calling this door hidden when you can clearly see the hinges…oh well. So from now on, let’s call it camouflage.
Either way, this simple change made a big difference in this view. Making this wall a feature instead of an awkward placed door.
My original plan was to paint it just like our kitchen walls and add the baseboards back and paint those as well same as our downstairs trim, Accessible Beige SW. I haven’t make a decision yet, we will see.


