DIY Brick Wall: How to Create a Stunning Accent Wall in Your Home
Three years ago, we created this beautiful accent wall in the midst of the chaotic renovation of our kitchen. It might look like a lot of work, but it was actually very simple. The goal was to make it look and feel like the brick was always there. It took me a while to write this post, but here it is with all the information you need to get inspired to DIY. Spoiler alert: there were a few mistakes made, so stay until the end to find out what we would have done differently.
The Plan
The idea for this project was to create a fridge wall/coffee and beverage station (that sounds fancy!). We would add wood shelves with brass brackets and a couple of sconces. The contrast between the rustic-looking brick, the elegant unlacquered brass, and the marble was going to be beautiful, giving a striking contrast with the white walls of the rest of the kitchen. So, while we waited for our cabinet faces to arrive, we decided to start with this side of the kitchen.
We gathered all the materials we needed from Home Depot and embarked once again on a new DIY project. The secret to working with your partner on a project without driving each other crazy is to establish separate roles. I was in charge of installation, details, and, of course, styling, while Paul was responsible for cutting all the pieces of brick.
The BEFORE.
The Execution
The Brick
The process was very simple. Some of you thought we actually cut all the bricks in half lengthwise, one by one. In reality, the bricks we used come in sheets ready to install. Paul only had to cut the smaller pieces or the bricks around the outlets using a grinder so the sheets could fit perfectly. We also used the adhesive recommended by the brick brand for installation, which made everything so much easier!
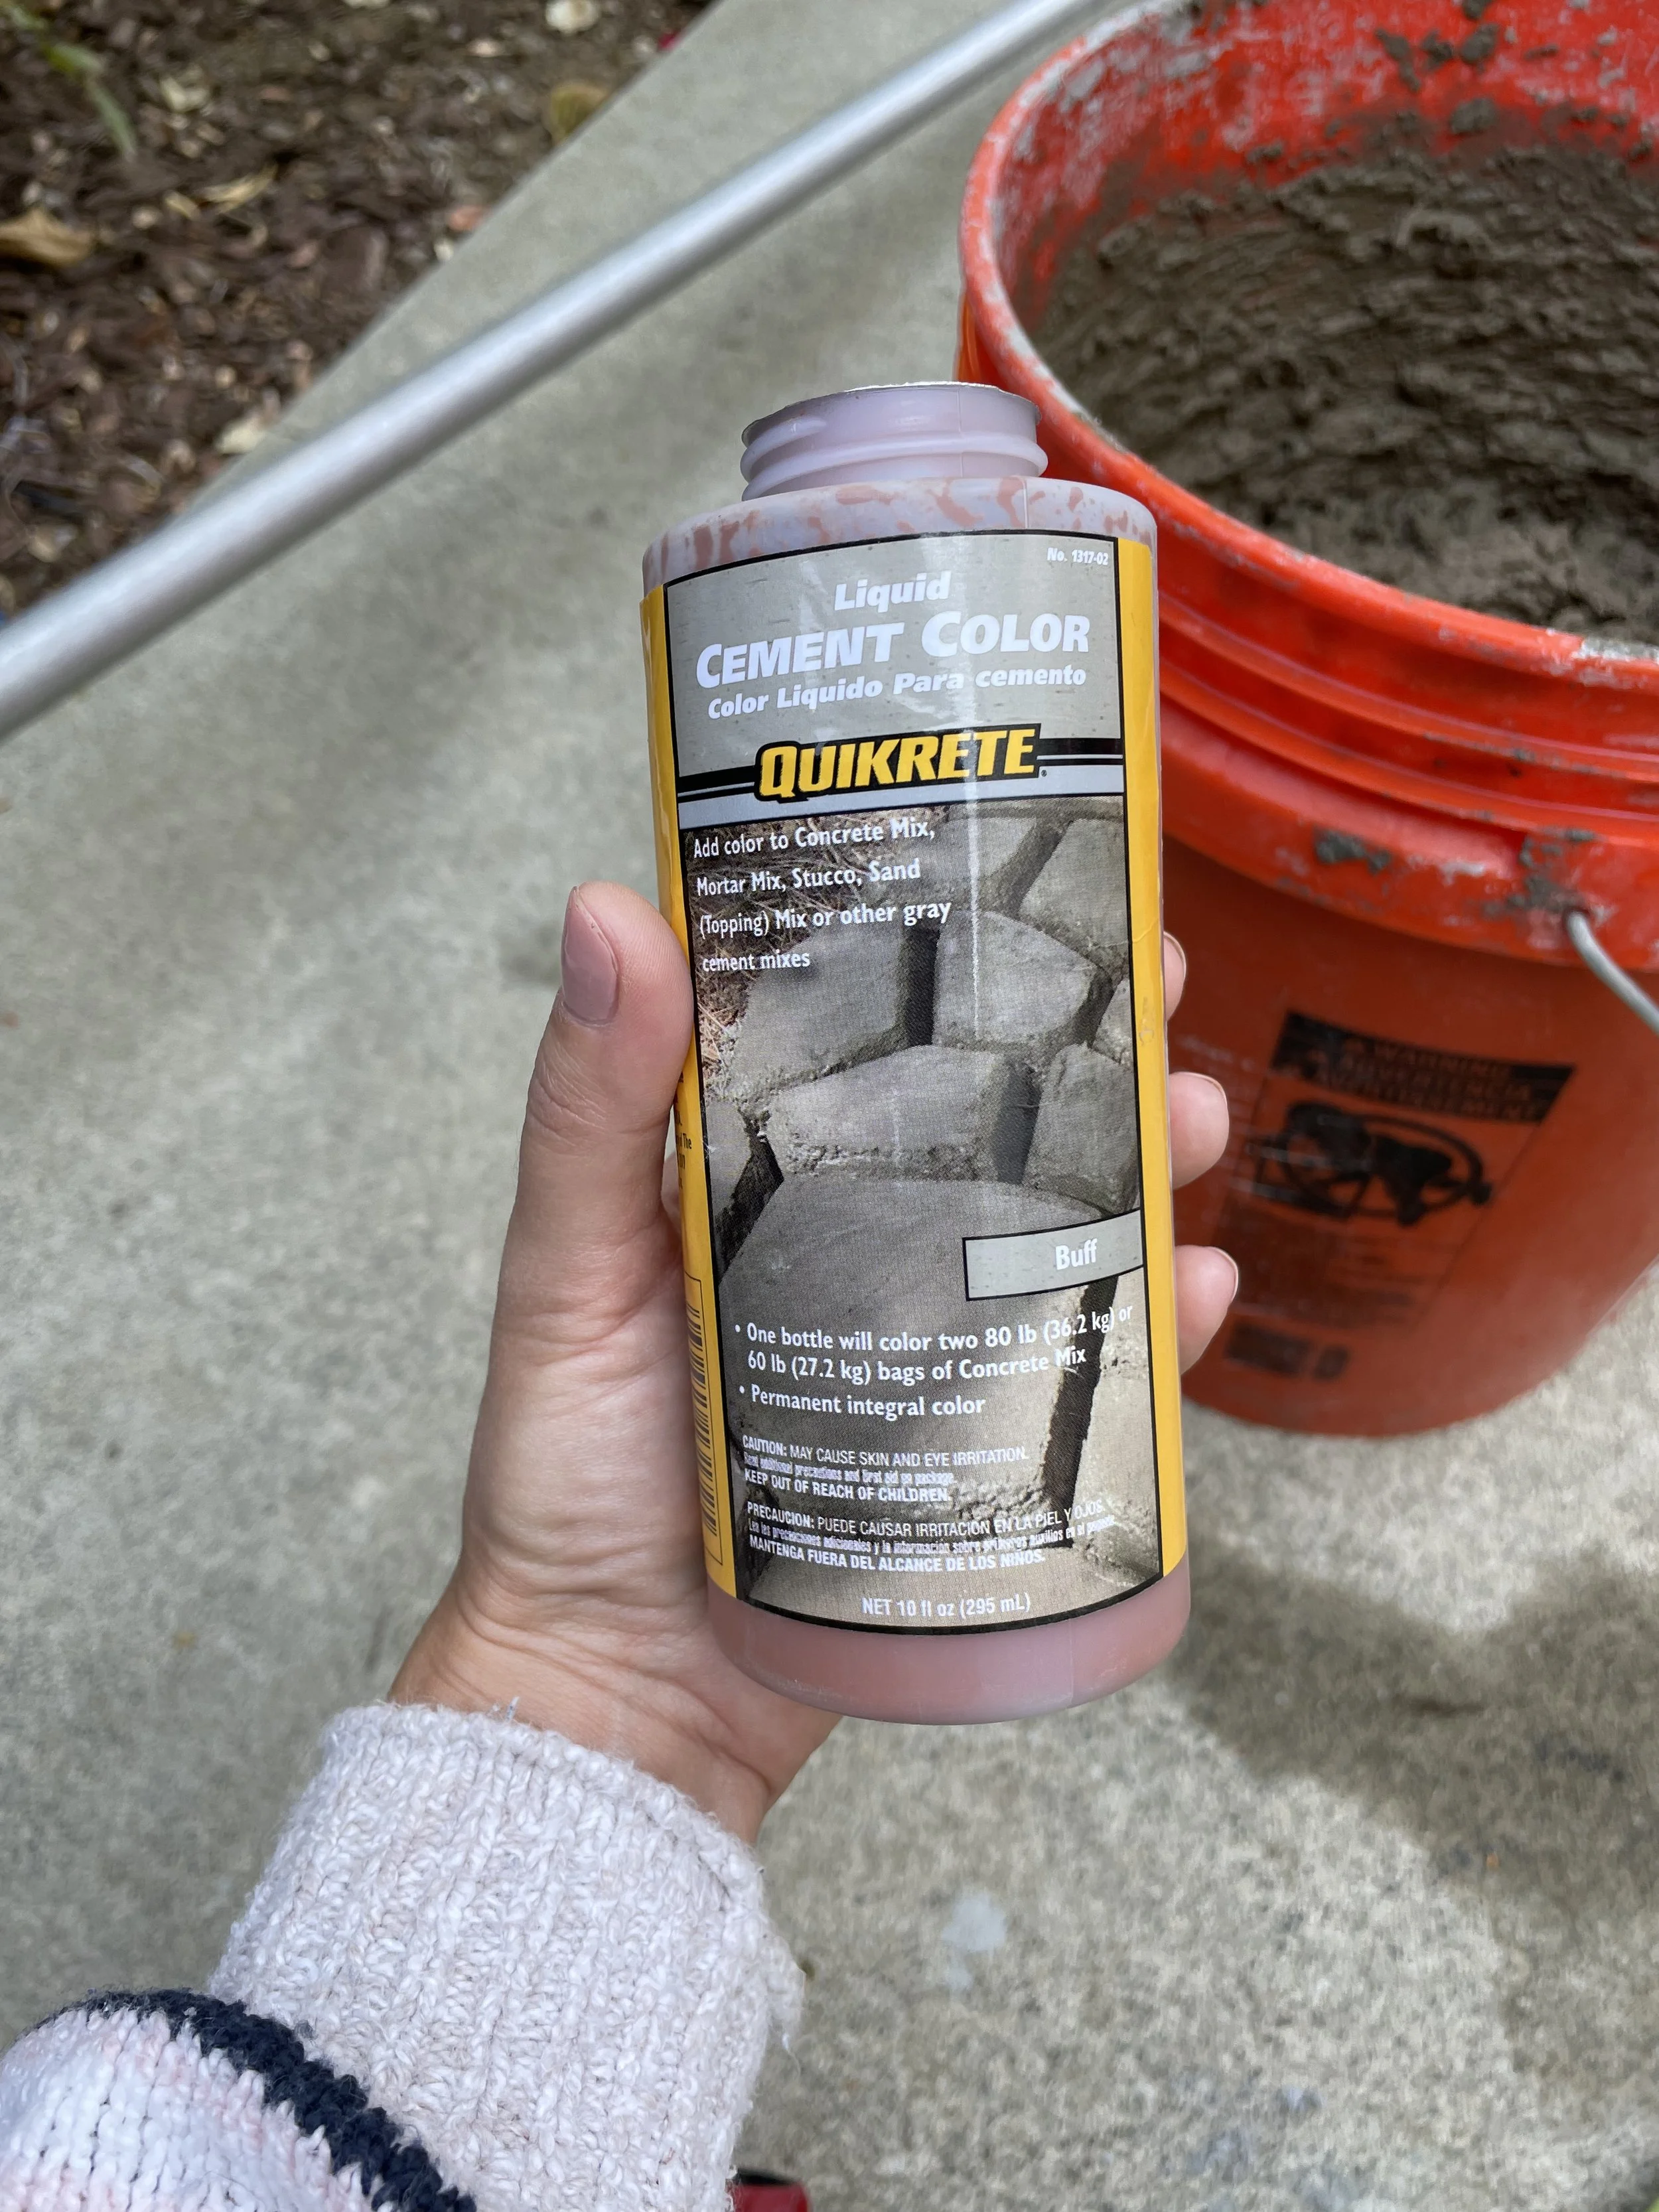
Once we finished that, it was time to fill all the gaps between the bricks. I wanted something warm and similar to the brick color for a subtle contrast. We decided to go with grout, using Type S mortar and a tint. I didn't want it to be too gray, too red, or too brown. It's safe to say that the first sample was not right at all.
This process was all about trial and error, trying different mixes. We combined the grout with a little bit of color and water at a time until we achieved a "cake batter consistency." Then, using a grout bag, it was time to fill the spaces between the bricks. Would it work? I wasn’t even 50% sure; I could only wait and see. Twelve hours later, it still looked brown, but it was starting to lighten up, which was a good sign that my plan was working.
Mixing until we got a “cake batter” consistency.
Freshly added grout, still too brown.
Twelve hours later.
The look I had in mind was that of an aged brick wall that had been installed years ago. After 24 hours, it was time to go over it with a wire brush, carefully working between each and every line in the brick. It was a labor of love, but it had to be done by hand to control how much grout I removed. In the end, it turned out beautifully. It adds the perfect touch of warmth to the brick, and I’m so happy it all worked out.
I didn’t have a small wire brush at home so I had to use what I had. I highly recommend using one or is going to take you longer!
The Shelf
I envisioned warm-colored wood planks held up by beautiful brass brackets. The contrast with the brick wall would be perfect.
For the wood, we used select pine (not “selected,” but I did pick it out, lol). It’s still pine, but of a slightly better quality than common pine, with fewer imperfections and knots. I always sand the wood before staining, using 220-grit sandpaper. After that, I applied one coat of wood conditioner, one coat of weathered oak, and two coats of early American.
The Final Details
This accent wall couldn’t have been completed without light fixtures. The brass and glass elements of these wall sconces were perfect for the brick wall; they were the missing piece. I also changed the cover plates to beautiful aged brass ones.
Finally, the fun part: styling the shelf! I love mixing materials when decorating a shelf—glass, wood, ceramic or clay, and always something vintage. You can’t go wrong with that formula!
Styling details.
The Conclusion
I didn't want this kitchen to look perfectly new, even though it was brand new. I wanted it to feel timeless, homey, layered, and loved. And I think we achieved that. Seeing all the different elements together is beautiful! I love the mix, the layers, and the textures. I enjoy creating spaces that evoke feelings; I love the vibe of a space—the feel of home. It might sound strange to some, but there’s so much beauty in designing a space based on that, rather than just aiming for 'a perfect new look.' Making it yourself adds to the special feeling.
Of course, there were some mistakes. For the brick in the kitchen, we should have caulked where the brick meets the countertops instead of using mortar. You live and learn! I’m also not a big fan of how the brick looks from the side—some days, I think lime-washing it would be best. But I still love how it looks from the front, so... I’m undecided. Time will tell, so stay tuned!
Shop this post:


